Quick Start
Click the image above to watch a complete start-to-finish video guide on setting up, installing, and using the SketchUp → CNC Fabber workflow.
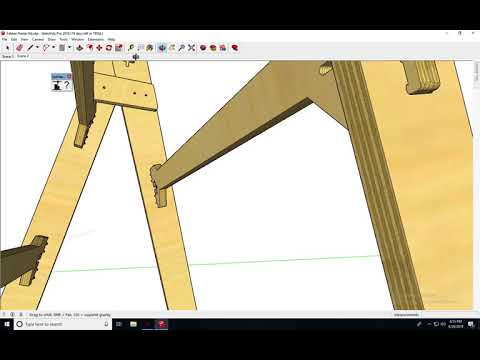
Sample Models
To get some great sample models, you can search for "Fabber" in the 3D Warehouse in SketchUp, or use this link to check out some great starter models:
Fabber Starter Models on 3D Warehouse
Settings
Tool Diameter
Understanding Tool Diameter in SVG Export
When you set a tool diameter in the settings (via the showSettings method), the system stores half that value as $defaultToolRadius. This is used to identify certain shapes during the SVG export process.
How It Works
As the plugin exports your design to SVG, it checks all the circles in your model:
If a circle's radius exactly matches your tool radius:
It's labeled as "DRILL: [depth]" in the SVG.
This tells your CNC machine to treat it as a drill hole.
If a circle's radius doesn't match your tool radius:
It's labeled as "PROFILE" or "POCKET", depending on its position.
These are treated as cutting paths instead of drill holes.
Why This Matters
This setup helps streamline your CNC workflow:
Drill Operations: Circles that match your tool diameter are automatically identified as drill holes.
Cutting Paths: Larger or smaller circles are treated as either profiles (cut around) or pockets (cut inside).
Simplified Tool Path Planning: Your CNC software can easily distinguish between drilling and cutting, making your job easier.
Example
Let’s say you set the tool diameter to 0.125" (⅛ inch drill bit):
Any circle with a radius of 0.0625" (which is half the diameter) will be marked as a drill.
Any other size circle will be treated as a cutting operation.
This logic helps separate drilling from cutting, so the generated SVG is cleaner and more useful for manufacturing.
Export to settings
Fabber Export Format Options (Dropdown Menu)
The Fabber plugin includes an "Export Format" dropdown menu, allowing users to choose from several output configurations tailored to different CNC workflows. These options control how the exported SVG is structured and labeled, making integration with downstream CAM software seamless.
Supported Export Formats
- VCarve/Aspire (Default)
Purpose: Specifically optimized for use with Vectric's VCarve and Aspire software.
Behavior:
Exports SVG files with standardized layer names (e.g., PROFILE, POCKET, DRILL) to ensure compatibility.
Integrates directly with the Fabber Gadget in Vectric, enabling automatic toolpath assignment.
Recognizes geometry types and assigns toolpath categories accordingly.
- Shaper (Documentation Pending)
Purpose: Intended for compatibility with the Shaper Origin handheld CNC router.
Expected Behavior:
Exports SVG in a structure suitable for Shaper's importing requirements.
May include custom layer naming or embedded metadata specific to the Shaper ecosystem.
- Custom DPI
Purpose: Provides advanced users with control over export DPI.
Allows you to export SVGs at any custom DPI you would like.